Showing posts with label #projectquilting. Show all posts

Saturday, March 8, 2025

Project Quilting 16.5: Follow Your Arrow


I love Project Quilting and look forward to it all year! Thank you to Kim Lapacek and her friend Trish Frankland for hosting this great challenge every winter. You can read more about the rules and prompts here on Kim's blog Persimon Dreams.

This week's prompt is "Follow Your Arrow" and the interpretation of it is up to the creator!

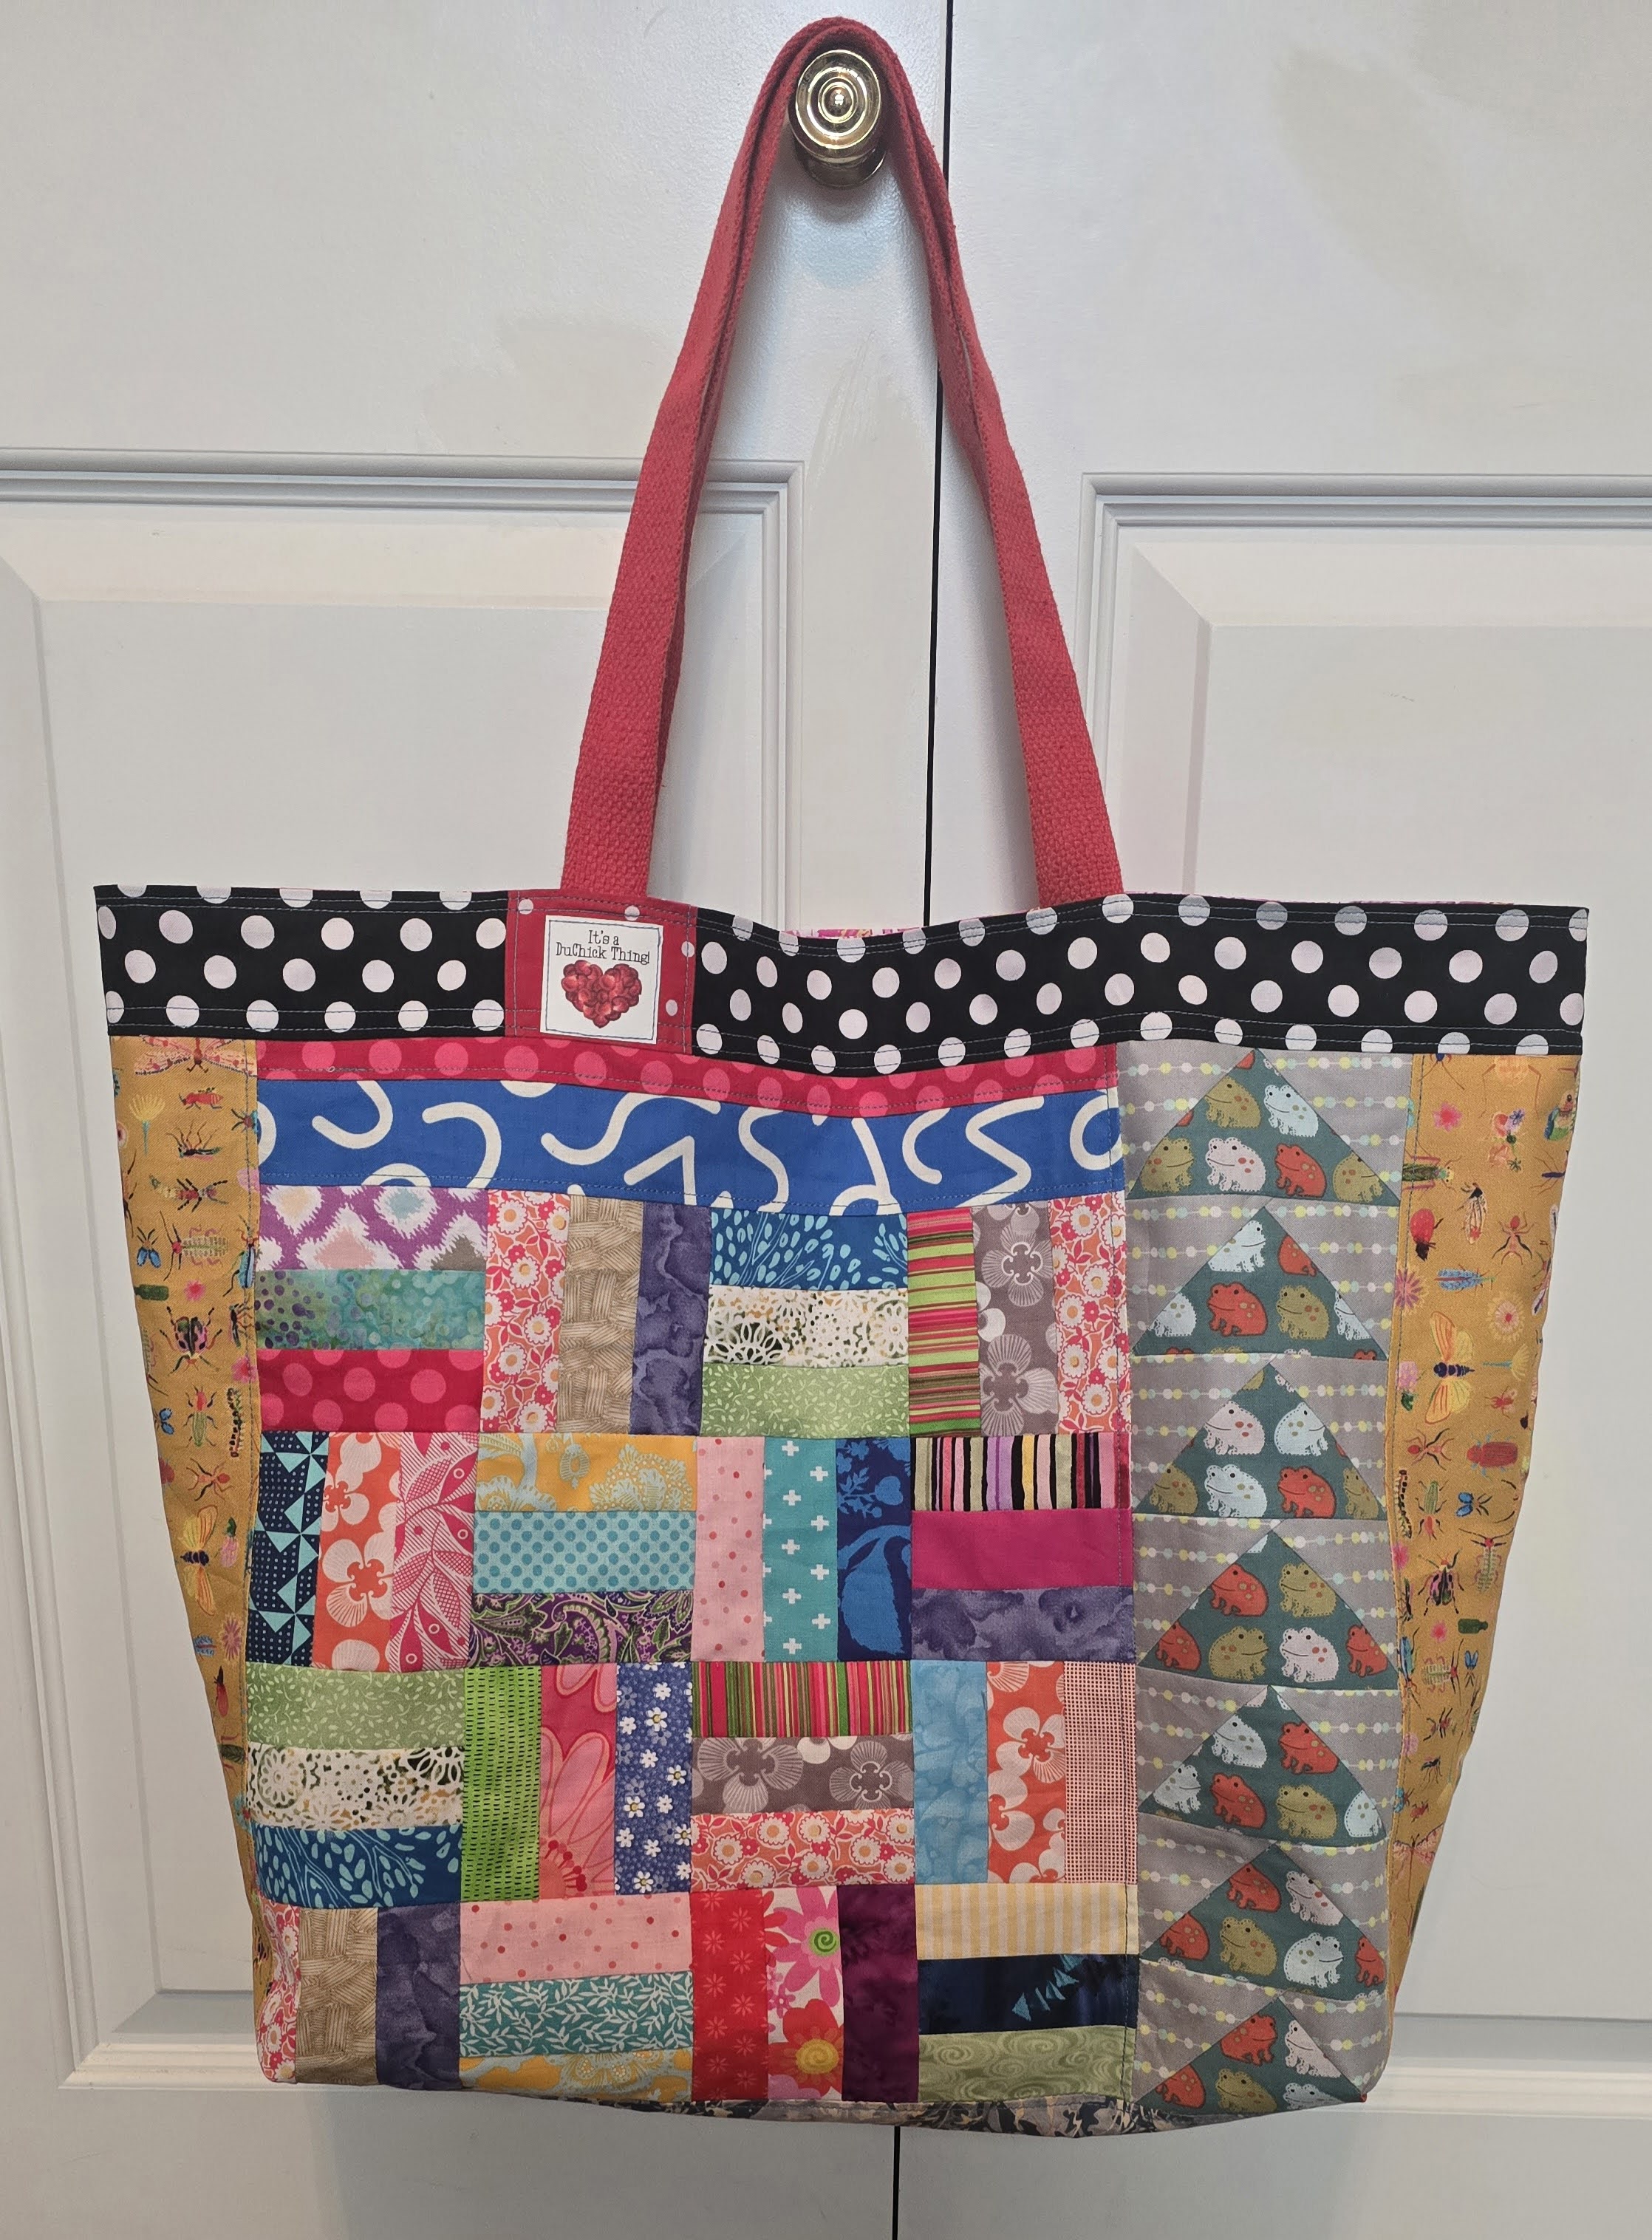
The always-popular Flying Geese block can be seen as an arrow or pointing in a particular direction. 


I pulled out my scrap baskets and stitched up 8 Flying Geese blocks measuring 4" x 2" each. 
These were sewn together in one long row. 

I chose to make another Pocket Pod Basket from the SewCanShe blog. It is a super easy tutorial and it's free! Caroline Fairbanks writes such great patterns, and she has a ton of them on her blog. 

 
I sewed the strip of "arrows" to my purple fabrics, added fusible Pellon 308 for stability, and also chose a purple lining. I used the given template to get them cut out. 


Here are the 2 pieces sewn together and are ready to be stacked inside one another for the next step. 


Closing in on the stitching around the top.


Birthing is always the hardest part, isn't it?
Only one thing is harder and that's raising those teenagers! (Now we'll see who's reading.😜😜😜)


Stuffed with more jams and jellies for my closet. 


Lined up with last week's ruby pocket pod basket! They look really good together!

I'm so glad I followed my arrow to use these Flying Geese blocks to make more storage. 

I love making practical things! 


Linking up with:


Saturday, February 8, 2025

Project Quilting 16.3: Common Blocks


Welcome to the 3rd week of Project Quilting Season 16! Hosted by Kim Lapacek of Persimon Dreams and friend Trish Frankland, there is always something to look forward to in the deepest part of winter! This week's prompt was "Common Blocks" and we were required to use at least 3 common quilting blocks in one project. 


For my first block, I chose the invincible 9-Patch. I had a pile of 2" squares in my stash, so I dug them out and color-matched as many as I could, then trimmed them down to 5" blocks.


For my second common block, I got busy with the Rail Fence block. So many strips and so much fun later, they came together quickly.


My 3rd and final block, I chose the favorite Flying Geese block. They looked quite at home perched next to the Rail Fences. 


Above is one panel ready to be sewn to the back.


And now the back panel.


I used a bright pink swirly fabric I've had forever as the lining.


Once the lining and outside panels were boxed and cut, I topstitched around the top band, being sure to reinforce the straps. 


Here's a peek inside my newest tote bag that I'll be taking on shopping trips! 
I'm doing what I can to cut down on plastic and paper bags. 

The best part?
Nothing new was purchased for this (or the previous 2) tote bags!
The only yardage used was for the lining. 


Linking up with:

Saturday, January 25, 2025

Project Quilting 16.2: Ombre


This week's challenge for Project Quilting was to use the ombre or gradient effect.  The challenges are hosted by Kim Lapacek at Persimon Dreams, along with her friend Trish Frankland. Together, they come up with some great ideas!

Ombre describes the color shift in value or hue between two points. It looks like a smooth range between two colors, or a gradient of one color from light to dark.

I wasn't real sure where this challenge would lead me, but I figured I could make a block big enough to use as a front panel for another tote bag for grocery shopping. 

My gradient/ombre effect isn't as smooth as I'd like, but I wanted to use what I had in my stash. I turned to a box of batik fabrics and scraps that I won last year. So many lovely pinks, purples and greens in this collection! I pulled out the pinks and purples. 


There were already several cut triangles in the box, so that was my starting point.


I made 4 of these large triangles and then trimmed them down to fit together for sewing. 


For the back, I used the same fabrics and sewed strips together and top stitched each seam. 


I cut up an old cloth belt to use for the straps

 and added a strip of fabric to give it some pizzazz. 


I pleated all 4 corners at 3" and trimmed them off.


I didn't get a photo of the lining, but it's a lavender swirl that I used to cover my bulletin boards back in my teaching days. That's been around awhile! The very top edge was topstitched with double reinforcement over the straps. 


Now I have 2 sturdy bags for grocery shopping in style! My Sassy Big Foot bag has been used several times since its creation 2 weeks ago! 


Linking up with: 

Persimon Dreams Project Quilting