Monday, February 28, 2022

RSC February: Teal (or aqua or turquoise)


This month Rainbow Scrap Challenge called for all scrappers to get out 
their teal/aqua/turquoise fabrics. 

Even though I really like this color, I don't have too many scraps. 
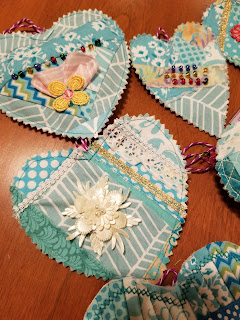
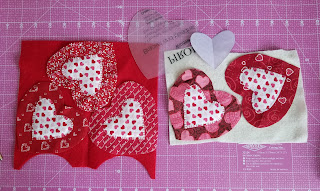
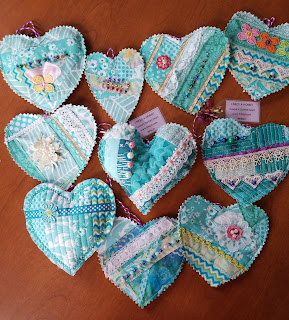
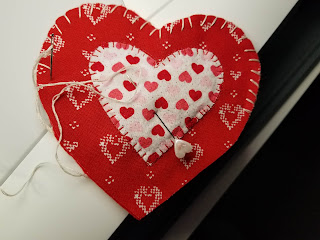
What I did have, I "made" my own fabric to cut out hearts. 
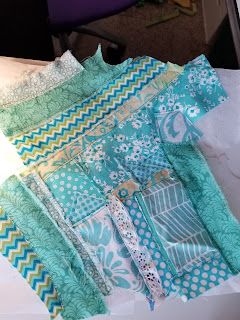

Making my own fabric from scraps is quite therapeutic, but not always pretty.
Improv is the perfect vacay for my brain.

This piece was just enough to cut out 4 hearts. 
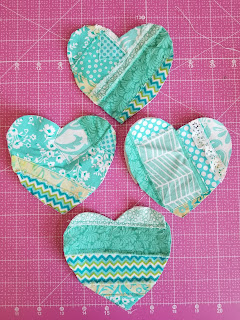

They are now ready for their transformation!
Kinda like going to the beauty shop.

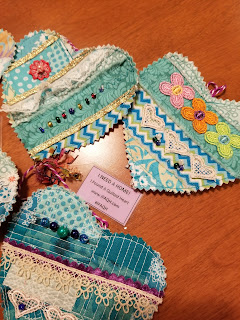
Out come the beads, the lace, the buttons, the ribbon 
and all the bits and bobs needed to change Plain Jane to a Ravishing Beauty!
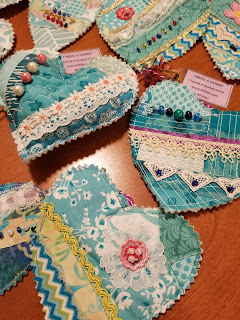


Each heart will be attached to a special tag
and placed out in the world
to be found by someone special.
May they be filled with love and blessings.

Read more about this awesome project here: 

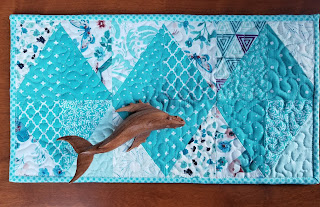
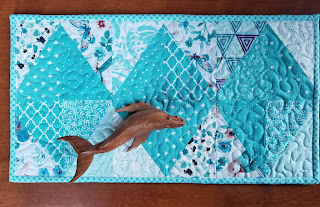
Also, earlier this month, I made a small table topper using the RSC color. 
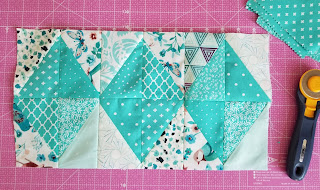
I combined the color with the Project Quilting Challenge "Mining For Diamonds".

Linking up with:


Sunday, February 20, 2022

Project Quilting 13.4: Mining for Diamonds


This week's challenge for Project Quilting was Mining for Diamonds. 
Kim Lapacek at Persimon Dreams always allows participants to interpret the challenge in their own personal way, as long as it's explained or obvious to the theme. 

I started out with a completely different project that is now in my WIP/UFO/WhenTheHellWillItGetDone pile. Photo later. 

So it was Saturday at 3:00 PM and I was nervous, anxiety-ridden, and a bit mad at myself. 
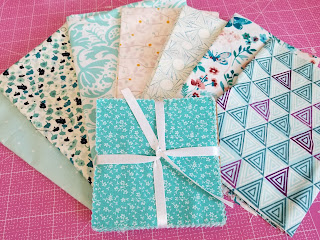
I pulled the RSC colors from my stash...February is teal/aqua/turqoise...
whatever you fancy calling this color, 
along with some coordinating low volume fabrics.


Then I went on a search for directions on how to make half-square rectangles. 
In my haste, I fudged following the full set of steps.
With only me to blame, I ended up with no seam allowance on the sides of my diamonds. 


I've never been known to name my quilting projects, 
but this one is not-so-affectionately being called
Kissing Diamonds. (Can you hear me sobbing?)


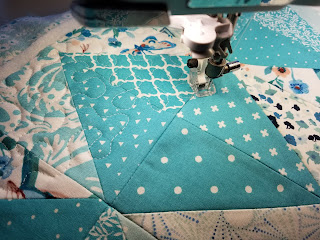
By 4:00, I was in quilting mode and doing my favorite, quick, simple stippling.
No time for anything fancy!


A break was needed to clear my head and fill my tummy.
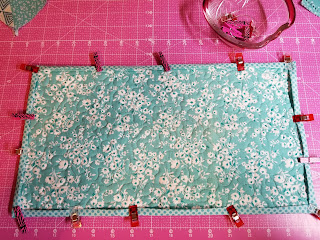
By 6:00, I was ready to bind. 

Kissing Diamonds was complete!

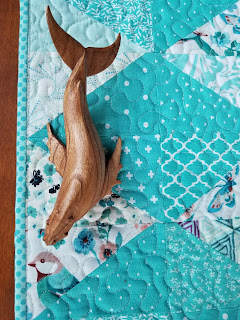
I placed the hand-carved Humpback Whale we bought in Hawaii up next to the bird. 

The little bird makes me smile. At least something does about this piece! 

Measuring 8.5" by 15.5", it's just the right size for something! 😍


Still curious about the project I started with? 

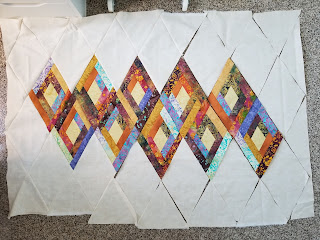
It's a big ol' table runner made with batik scraps in a log-cabin-ish diamond. 

Sigh. 


Linking up with:
Project Quilting: Mining for Diamonds


Saturday, February 5, 2022

Project Quilting 13.3: Kitchen Influence


I don't usually sew when on vacation, but when I do, it's for Project Quilting!

The latest challenge was posted by Kim Lapacek at Persimon Dreams just hours before we left for our Hawaiian vacation.

Those few hours gave me just enough time to scrape together an idea and gather the necessary bits and bobs to get the job done.


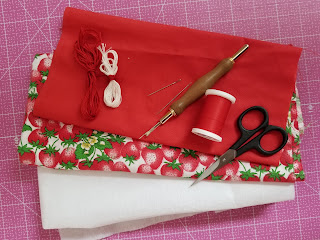
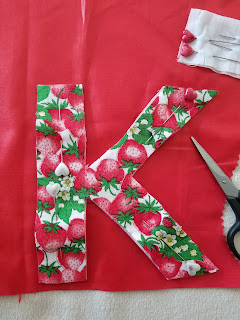
I love strawberries and this sweet fruit is found in the kitchen. The strawberry fabric has been in my stash for-eeeever and I found just enough of a scrap of matching red, along with some stiff fusible batting to accomplish the idea rolling around in my head.  I added thread, needles, pins, seam ripper and my sharp snippers. 


I don't always iron fusible batting to my fabric atop a bed, but when I do, I am sure to cover the bedspread with a double folded blanket for insulation. Worked like a charm.

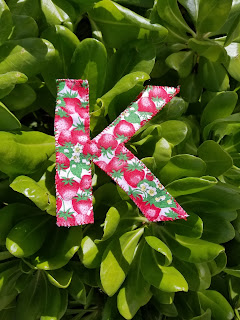
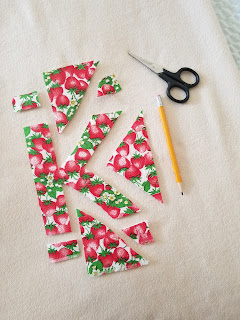
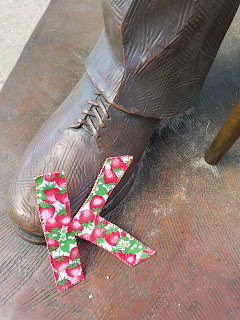
I don't always eyeball my shapes when cutting, but when I do, I try my best to cut straight lines. In this case, the shape is the first letter of my name. 


Red fabric was cut to match for the backing. 
I should've cut all layers at the same time, but my plan had changed mid-stream. 


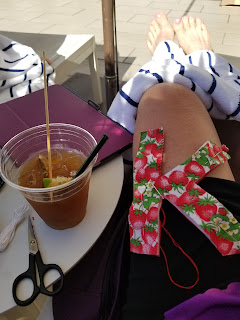
Down to the poolside we go! 

I don't always sew with a mixed drink at my side, but when I do, it's a Mai Tai served with fresh fruit on a stick!

All 3 layers were whip-stitched together using 2 strands of DMC embroidery floss. 
A second Mai Tai may or may not have been consumed during this process.

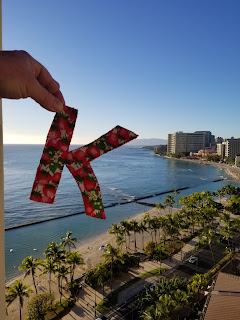
K hanging above Waikiki Beach in Oahu. 

The stitched K! 
K is for Kathy. 
Kathy is the sole manager, executive cook, sous chef, pastry chef, prep chef, line cook, steward, porter and dishwasher of her kitchen back home in Iowa.
She deserves her initial to stand among other fancy little doodads on a shelf above her cooktop. 

K measures approximately 6" x 7".
3 layers including batting.
Completely hand-stitched in Honolulu, Oahu, Hawaii!

And that is where K will park herself in another week when she gets home!

Aloha!


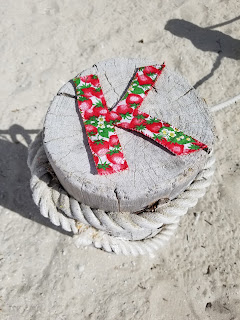
K sitting afoot the statue of Prince Kuhio, the Prince of the People,
which stands along Waikiki Beach in Honolulu, Oahu. 

Linking up to: 

Project Quilting 13.3


Friday, January 28, 2022

RSC January 2021: Red


January's Rainbow Scrap Challenge (RSC) color is red!

How appropriate for making Valentine's Day projects!

Well, that's what I did anyway.

Time was a bit short to sew this month with getting one of two projects done for 
The Polar Bear Plunge (see previous post). The larger of the two (hubby's quilt) needs 
to be completed yet. It will get done. In time.

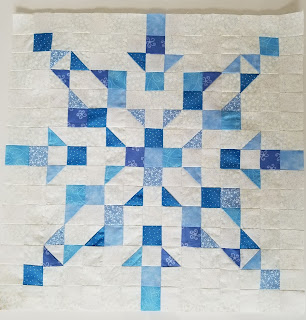
I was also a pattern tester for Lesley at Berry Birdy Designs.

I chose to make the pillow top. 
It's 16" square and still needs quilting and the zipper to get it finished. 
This, too, will get done!
She released this pattern just today ....Snow Star Pattern.
Options for a mug rug, pillow, or wall hanging are included. 
A larger quilt can be made if multiple star blocks are made. 


Back to the reds....


I pulled out my smallish pile of Valentine's fabrics. 
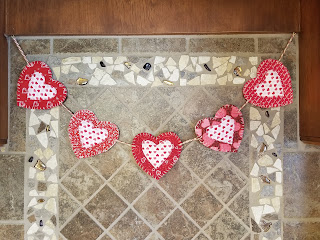
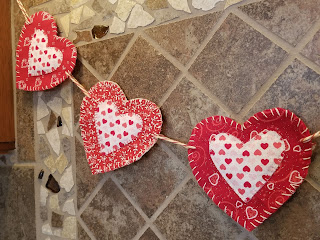
I'd seen several garlands on Pinterest that I liked, so I mingled a few ideas 
together and made 5 of them to string above my cook top in the kitchen.


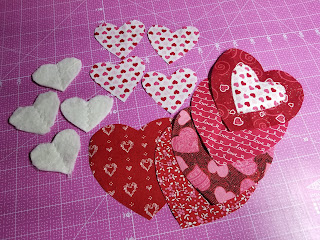
Using a large heart template, 
I cut out 5 of different fabrics for the bigger hearts.
With the smaller template, I cut 5 hearts all of the same fabric, 
plus 5 batting pieces...franken-sized! 
Gotta use those scraps!


The batting was sewn under the smaller hearts with a blanket stitch. 
They are a bit puffy, which is the look I was going for.
Then I used scraps of red and white felt for backing and cut heart shapes.


Some whip-stitching happened to bring the front and back together. 
Using simple DMC embroidery floss in ecru, they have that 
ol' time country look. 


Red and white twisted string holds them together!


I'm not sure why it's taken me so long to think about adding a garland in my kitchen!
I've always loved them, but I've never made one or bought one. 


This was my star garland for Christmas.

Of course, as you can imagine, there will be shamrocks, 
Easter eggs, flags, leaves, turkeys and more coming! 

Linking up to:


Tuesday, January 25, 2022

My Day on The Polar Bear Plunge Blog Hop!


It's Wednesday and it's the middle of The Polar Bear Plunge Bog Hop!

We've got a good 8 or 9 inches of the white stuff here in NE Iowa. 
Some folks hate it. Some tolerate it. Some love it. 
There are times that I can say each of the above. 
It's Iowa and it's January....so there will be snow!

We have a grand-nephew on the way in March, so his big sister will need a gift to keep her busy as she will no longer be center ring. Marie is almost 3 years old and I've always wanted to make a sleeping bag for a doll or...or.. bear!!

I chose to use the Sleeping Bag tutorial 
by Connie Kresin Campbell at Freemotion By The River. 

Connie writes super clear instructions, so it was fun and easy!
I made just a few adjustments to add my own details, like the ricrac and trim.

I sure didn't keep in mind that using a directional fabric would give me an issue.
I added a strip to go over the upside-down animal heads (near the top)
 and then sewed on the ricrac trim so the heads would all show up the same way.


Every sleeping bag should be personalized for the owner, right?
M is for Marie!


Of course, the sleeping bag needs an occupant!
I used the tutorial for a stuffed bear from Mindy Makes.


Here is lil' bear resting in his sleeping bag waiting for spring!

Another project I got a very good start on for this blog hop is a quilt top!
Sadly, (imagine a pouty bear face here), it didn't get finished in time. 

I had all of the fabric together as it was purchased as a kit many years ago. 
I bought the kit at an estate sale, thinking that someday 
there may be a blog hop to encourage me!
Woohoo!

This is the pattern it was intended for...all from Timeless Treasures. 
The pattern design did not make me roar like a bear.
Sorry, Timeless Treasures.

So, instead, I started cutting up the fabric and did my own thing!


That black furry mass is not a bear, just a black furry dog named Jax.
Why do they always want to lay on fabric???


2 different sized Bear Paw blocks were used and placed sorta randomly.
My husband is a bear NUT, so he is looking forward to this project being completed. 
It measures 46" x 64" currently. Not sure if I'll add a border or not. 

Fingers crossed it gets finished before the bears awake from hibernation!

Please enjoy browsing around the other creative bloggers this week!


Friday, January 21, 2022

Project Quilting 13.2 – In Silhouette


I love these challenges from Project Quilting! 
Even though I was stumped as to what I'd make until early Wednesday morning,
the project came together fairly quickly. 
Good thing since we have only one week to get it finished!

So, this week, the challenge was to include a silhouette focused on contrast and design. 
I kept thinking of a dark figure, like a shadow or something with a light behind it.

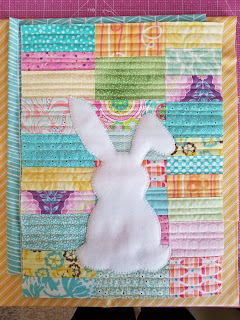
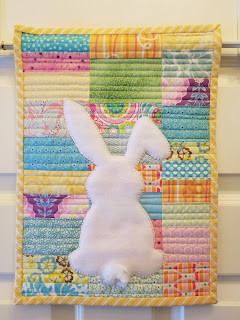
Then the thought of a white bunny came in! 
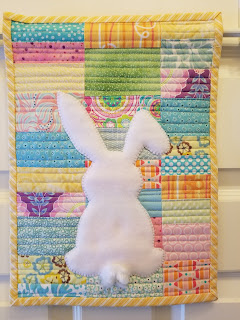
There's still plenty of contrast and who can resist a sweet white bunny?


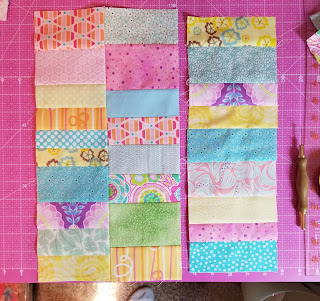
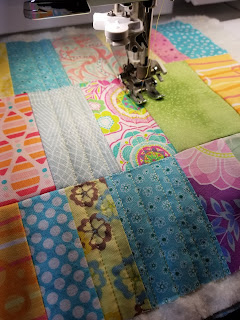
I pulled from my scrap strips and started sewing the more pastel-colored ones together. 
I was going for a mini wall-hanging size.


These 3 long strips were sewn together, 
then quilted on batting with randomly spaced straight lines. 


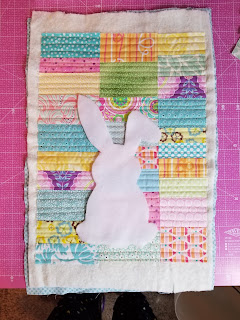
I sized up my sweet bunny that I had cut from fleece and left enough room
 at the bottom for a tail and binding. 


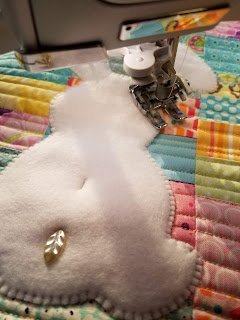
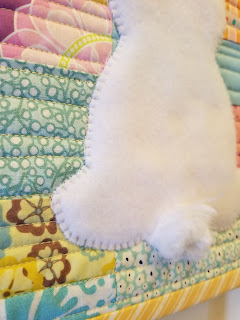
A blanket stitch was used to keep him (her?) in place.
I added a bunny-shaped piece of white fabric underneath to 
prevent the colored fabrics from peeking through the fleece.
Yes, there is a pin on his butt!


Choosing a binding fabric is always soooo hard!
The yellow won.


A close-up of his fuzzy tail. 


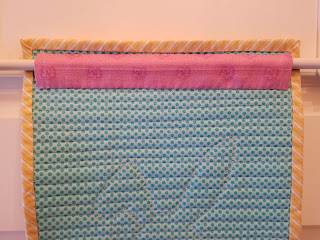
The pocket added to the back for easy hanging on a rod. 
A bit of left-over binding was worth hanging onto!
The finished project measures 11" x 15".


I'm now ready for spring! Bring it on!!!

#pqSeason13
#projectquilting

Linking up to: