Showing posts with label Project Quilting. Show all posts

Saturday, March 19, 2022

Project Quilting 13.6: Flying Geese


Oh what a fun ride this season of Project Quilting has been! 
I participated in each of the 6 challenges and loved each one.

Thank you to Kim Lapacek at Persimon Dreams for hosting this 
inspiring challenge for us each year. 

This final theme we were to incorporate at least 5 Flying Geese blocks into a finished project.

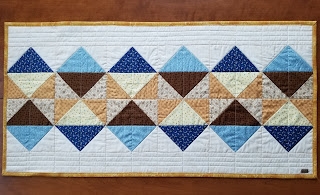
I've had a table runner in mind for quite a while that fits this "goose" bill. 
Switchback Trail is a free pattern from Sharon Holland Designs.

One of the elderly ladies I care for is having a birthday this coming week, so I kept her in mind as I chose fabrics. 
I also kept her in mind with prayers and loving thoughts as I stitched!
I'm hoping Mary will love her new table runner!
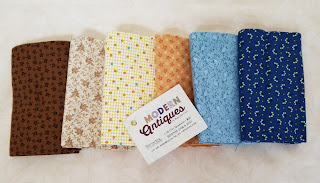

Most of my fabric stash is bright, colorful and on the modern side.
I had this one FQ bundle that is more subdued, so I chose 6 fabrics from it. 
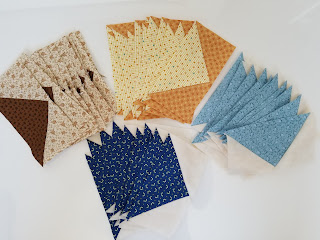

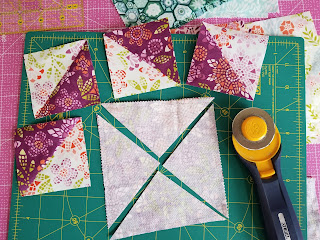
Sewing the Flying Geese blocks using Sharon Holland's tutorial was fun and easy.
Trimming them is always a pain in the arse.
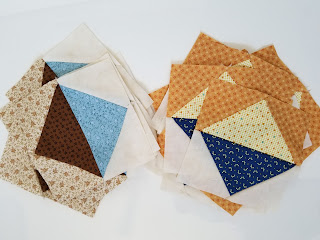

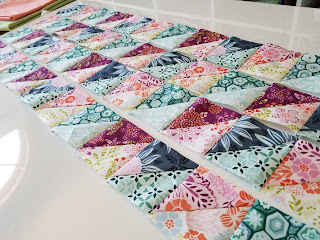
Making blocks with 2 Flying Geese snuggled up together.
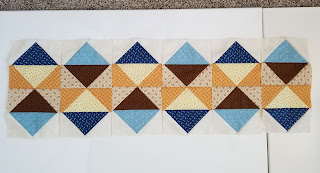

Getting the blocks lined up just right and ready to sew together.
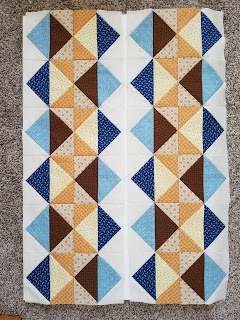

Sharon's instructions uses all of these blocks to make a 72" runner.
I know Mary's table isn't that long, so I used only half of the blocks.
The other half now is at the top of my WIP/UFO pile. 
Sigh.
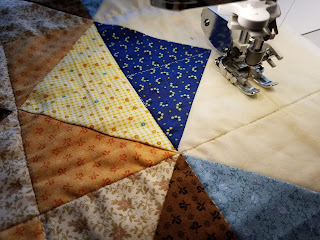

Simple quilting in the ditch.
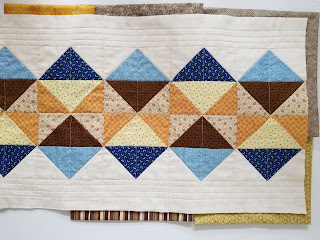

Decisions, decisions on binding fabrics!
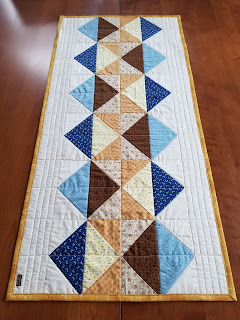


Measuring 18" x 36" and complete with 24 Flying Geese blocks.
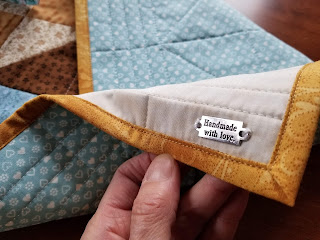
Absolutely "Handmade with love".

Linking up with:


Saturday, March 5, 2022

Project Quilting 13.5: Rhythm & Repetition


The PQ challenge this week was to incorporate a sense of rhythm and repetition into a project. It took a few days to let this idea simmer in me. 
I ended up going down the inspirational rabbit hole called Pinterest.

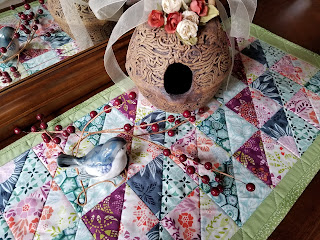
I had pinned a table runner from Bear Creek Quilting called Spring Table Runner 
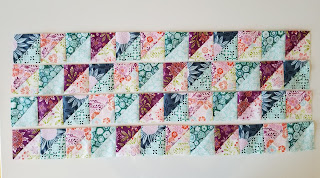
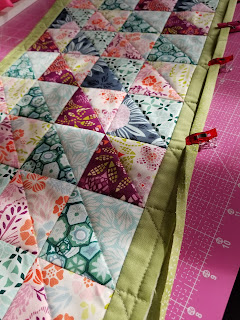
that would do the trick. It uses all HST blocks and are paired with a dark/light combination.
Once the blocks are arranged, the colors line up diagonally.
The only change I made to the pattern was to cut my 
HST blocks to 3" rather than the called for 2.5".


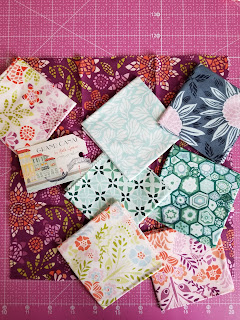
I chose a fat eighth bundle I've had in my stash forever, 
called Grand Canal by Kate Spain.


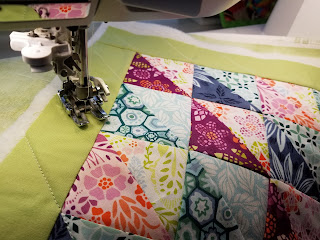
Making the blocks was fun and easy!


Getting them sewn together was fun too! 
Not a single corner was cut off. 
For once.


Can you see the rhythm and repetition? 


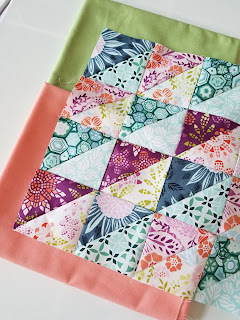
Choosing a border is never easy. Love that peach color?
Yeah, me too. But I didn't have enough for the length.
Pea Green won out!


Simple straight line quilting in-the-ditch along all seams 
supplied just the right look.


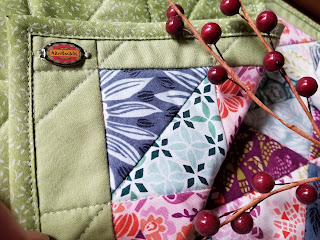
Getting that binding on just right.


I added a small enamel label that says "handmade" to the corner. 


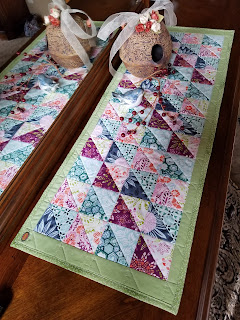
It fits perfectly on our bedroom dresser at 12" x 33.5".

I just love it! This pattern was so easy and fun to make, I know I'll be using it again. 
Thank you, Kim Lapacek of Persimon Dreams for creating these challenges!

Linking up:


Saturday, March 6, 2021

Project Quilting 12.5: You're Crazy!


If you knew how many times I questioned my sanity this week, you would laugh! 

I really had no idea where this "You're Crazy" theme was going to take me . I started out with pulling scraps of my favorite colors, some satin-ny scraps, ribbons and laces and a few Pinterest ideas. 

I did manage to use up a good pile of scraps, but didn't use the black/white fabrics above.  They looked too crazy when put together.

So I started sewing scraps into strips, adding some ribbon, lace and satin-ny pieces as I went. These tidbits are often part of Crazy Quilting and I wanted to throw in bits of Crazy here and there. 


More strips were added and I pulled my beloved Alison Glass text fabric out of hiding to use on this crazy mess. It was taking shape, but it really wasn't what I was hoping for. Plus, what would it be? 

I like things to have a purpose. I didn't need a wall hanging of these colors; I didn't have a stool or bench to make a cover for; it would make a really big pillow that I had no place to put; maybe a backing for a jacket, but my time was limited! 

I doodled some weird FMQ designs on paper and decided to go for it. Then I thought I'd add a border. Purple, of course.

That's when the thought came to me that I could make a tote bag out of this!
 "Bingo," the older woman from the back yelled. Yes, at this point, I knew I was hearing voices. 

I sewed the sides together and finished them with a binding tape, then boxed the corners.

Bag handles were added using the tutorial for
 SewCanShe Japanese style Bag Handles ...very easy and I love the look!

What a relief to finish this crazy project late on Saturday afternoon! I came down the stairs strutting my stuff with this cool bag hanging on my shoulder. Even hubby was impressed!
It will be perfect for Farmer's Market, the beach, road trips, carrying a picnic lunch or even carrying around my scattered brain!


If I'd had more time (and forethought), I would've added a few pockets to the inside. Oh well!

My tote bag measures: 21" wide x 10.5" deep (not including handles)

Have you made anything crazy lately?

Linking up with: 


Saturday, February 20, 2021

Project Quilting 12.4: The Snail Trail Block


This week's Project Quilting challenge was to use the Snail Trail block! This is a block that I've seen, but haven't made, so it was a new one for me. 

I started with making just 2 of them, thinking I'd make mug rugs/coasters. But as I played with the blocks and saw the secondary patterns, I went on to make a total of 4. 

Then I played some more and came up with these:


I chose the top block and started stitching! 

Adding stacked blocks to the sides and long strips to the top and bottom gave me the size I was looking for. I also added a shamrock applique to the center square for that St. Patty's Day feel. A squiggly meander free-motion quilting held all 3 layers together. 


A solid green fabric was added as binding and a small piece of shamrock fabric fit perfectly for the backing making this another project made entirely from my stash!


This little guy fits perfectly on my antique plant stand! 
This stand is actually a solid wood piece from an old church in town that my brother gave us as a wedding gift back in 1983.
 (That makes my husband and me antiques too!)

Snail's Trail Table Topper made with 4 blocks
3 layers
One applique
Measures 9.5" x 13"

Linking up to:

Saturday, February 6, 2021

Project Quilting 12.3: Virtual Vacation


Like so many others, it's been nearly a year since my husband and I traveled further than 30 miles from home. Last March, we took a cruise and one week later, everything shut down tight like dried paint on a window frame. Boom!

Wherever we go, we love to walk and explore new places, especially outdoors. Many times, carrying a purse or backpack is inconvenient and cumbersome. I've worn fanny packs, but feel like a real old teenager from the 80's. Gotta be cool...almost 60 year old me! :)

In my Pinterest sewing board, I had this Clip-On Waist Bag  tutorial from the Sew Very Crafty blog waiting to be made. It's been on my mind to make one and this was perfect for this week's Project Quilting challenge. This bag clips directly onto my belt loops of jeans or shorts. 

This handy pouch is ready now and waiting for my next (???) vacation! Woohoo! 

Just the thought gets me excited! 


I chose my fabrics from the stash...a lightweight denim and gorgeous purply-pink cotton for the lining and coordinating outside strip. 2 zippers and fusible interfacing to layer between outer and lining fabrics. This Craft-fuse was perfect to give that bit of stiffness without bulk. 


The instructions were very well written, but that doesn't mean a few swear words weren't spoken! I can follow directions, but sometimes my stubborn side tells me that I know a better way...not with this guy. Follow the directions.


We have 2 dogs. We go through probably 4 or 5 of those retractable dog leashes a year. I always cut off those swivel clips that attach to the dog collar. This was one time I was patting myself on the back for hoarding. I dug out 2 of them and they were just right! Nope, they aren't shiny and new, but they work and I didn't have to stomp through the snow to get to the store to buy pretty ones.  *These swivel clips attach directly to your belt loops.


It's such a great feeling when the online photo matches the actual project! I was on a roll!


The hardest part was the turn-inside-out-part which is kinda like giving birth. 
It's hard work-gotta be gentle-fingers crossed it turns out right-and I don't ever want to do this again process---until you see it's perfect and you made it and you want a dozen more!

Too bad it's not big enough to hold my cell phone!
Maybe it's because my phone is too honkin' big. 
I will make another and increase the dimensions. 
Until then, I will make accommodations.


I just love this clip-on bag! It's so comfortable, even with my essentials inside and keeps my hands free to do other things. May we all be able to get out and discover new experiences soon!

Dimensions: 7.5" x 5.5"
Made with 3 layers in my home in Asbury, Iowa


Linking up with:


Saturday, January 23, 2021

Project Quilting 12.2 Fussy Cutting and Sew Sweetness January Challenge


I was sewing double duty this week! 

Persimon Dream's Project Quilting's task was to use fussy cutting in a completed project. 

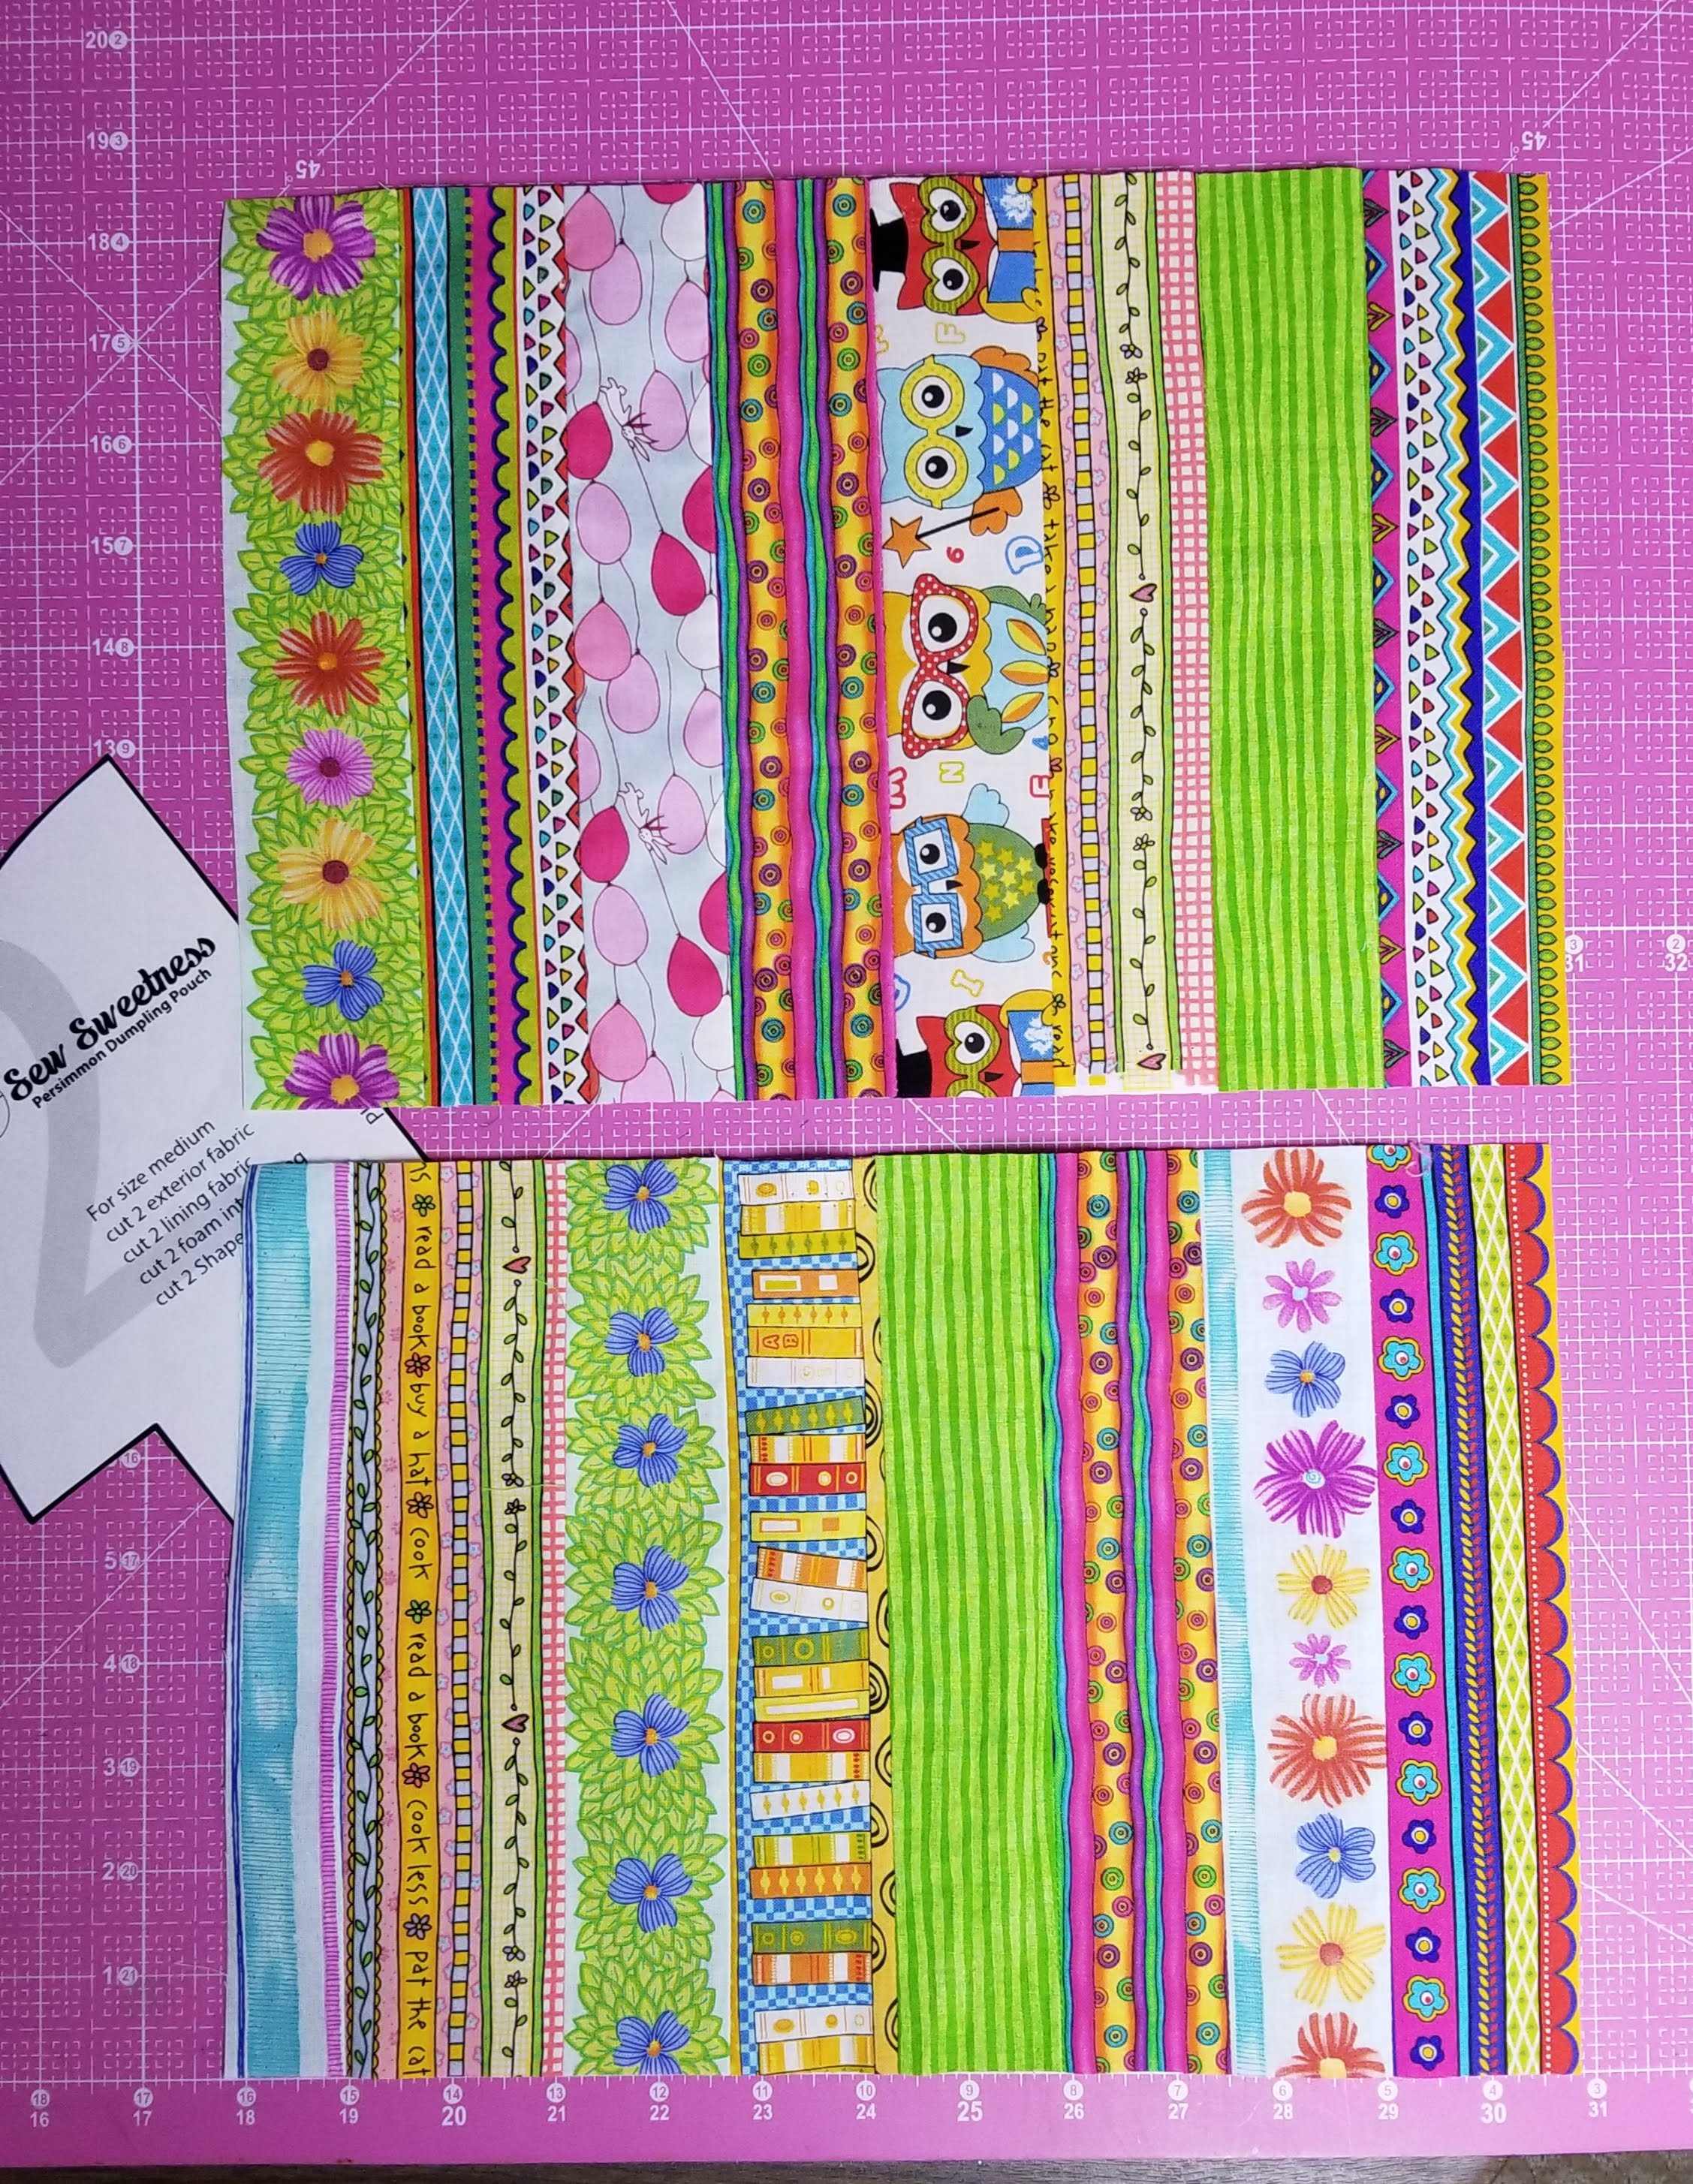
I decided to include the fussy cutting in the Sew Sweetness January Challenge which was to stitch up any Sew Sweetness pattern. I chose a free pattern called the Persimmon Dumpling Pouch. This sweet pouch comes in 3 sizes (I made the small and medium sizes) and is absolutely easy to do following Sara Lawson's video tutorial and written directions. I know I'll be making more in the future!


I started with fussy-cutting strips of fabric that I've set aside over the years for just this reason. Most strips were 2" wide and sewn with 1/4" seam. 
Above were the sections sewn for the medium sized Dumpliing Pouch.


Quilting the newly-made fabric was fun. 
Shape-Flex Fusible Woven Interfacing helps to give the sides of the pouch some stiffness,
 and also gives the fabric depth when quilting. 

I even did some FMQ about shapes to help the designs stand out. 


You can't scare me, you sneaky zippers!
The lighting is poor here, but I have an awesome view over a pond just beyond our backyard.


Here's the finished pouches! So darned cute!


For some reason, one end on each pouch is wonky where the seams line up. 
It doesn't affect the structure, and is only aesthetics. 
Still....it bugs me.


It was fun choosing some coordinating lining fabric!

Ok, so if you don't mind a bit of "wonky", I'd love to give this smallest pink-zipped pouch to one of my readers!  
(Email subscribers and Bloglovin' followers of this blog may be given preference!)

Congrats to The Joyful Quilter for winning the Artsy Bib in my last post!

Please leave a comment on this post stating that you are interested and I will draw a name next weekend. (US addresses only, please.) You will have 48 hours to reply to my email to win. 
*Sharpie pens not included.

Linking up with: